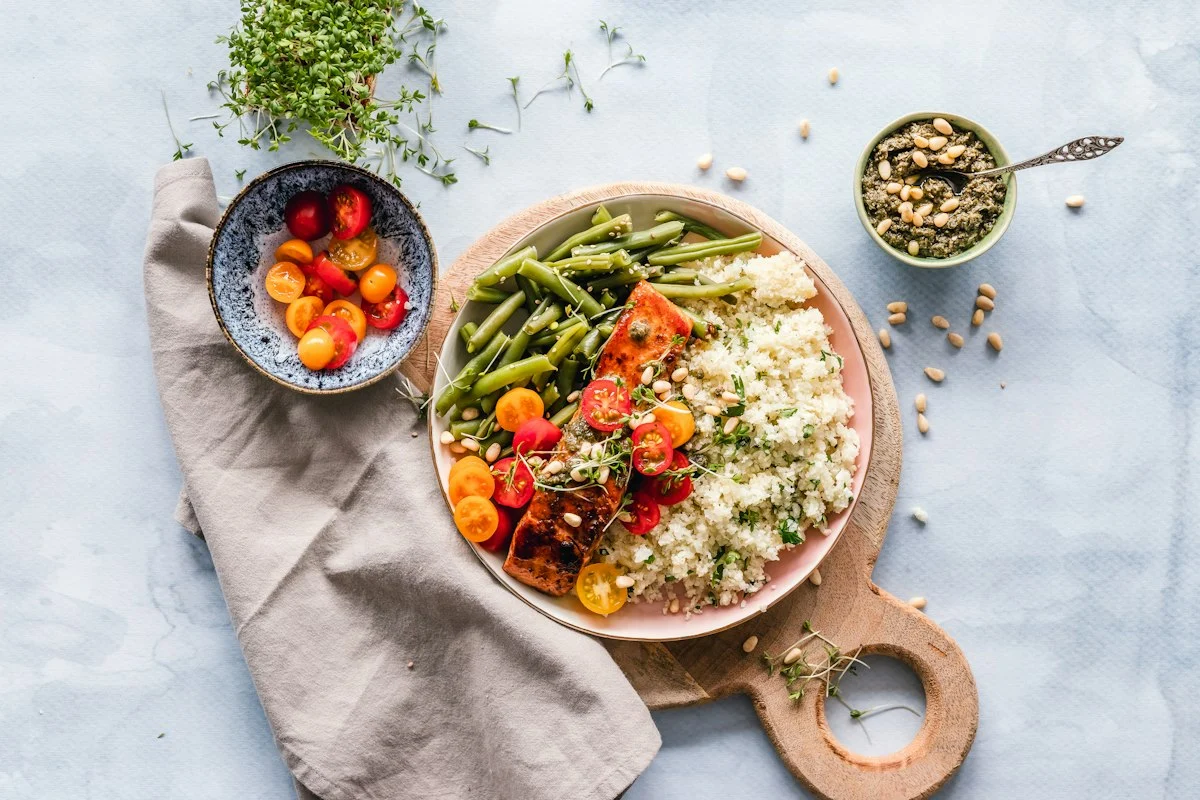
It is 6:30 PM on a rainy Wednesday. You have just returned home from a grueling workday, exhausted and hungry, only to open your refrigerator and discover half a wilted bell pepper, an empty carton of milk, and lingering guilt. Within ten minutes, you find yourself scrolling through delivery apps, spending thirty dollars on takeout that leaves you feeling sluggish.
Mastering sunday meal prep for beginners breaks this costly, unhealthy cycle for good. You do not need to spend an entire Sunday afternoon tethered to a hot stove, nor do you need to eat identical, dry chicken and broccoli five days in a row. By treating meal prep as a streamlined component-based assembly system, you can prepare a full week of nourishing, flavorful meals in just two focused hours.
Component Prepping vs. Assembled Meal Boxing
The most common mistake novice meal preppers make is assembling five identical containers of a complete recipe on Sunday afternoon. By Thursday, the food has absorbed condensation, the textures have degraded, and your palate is desperate for variety.
Instead, embrace Component Prepping:
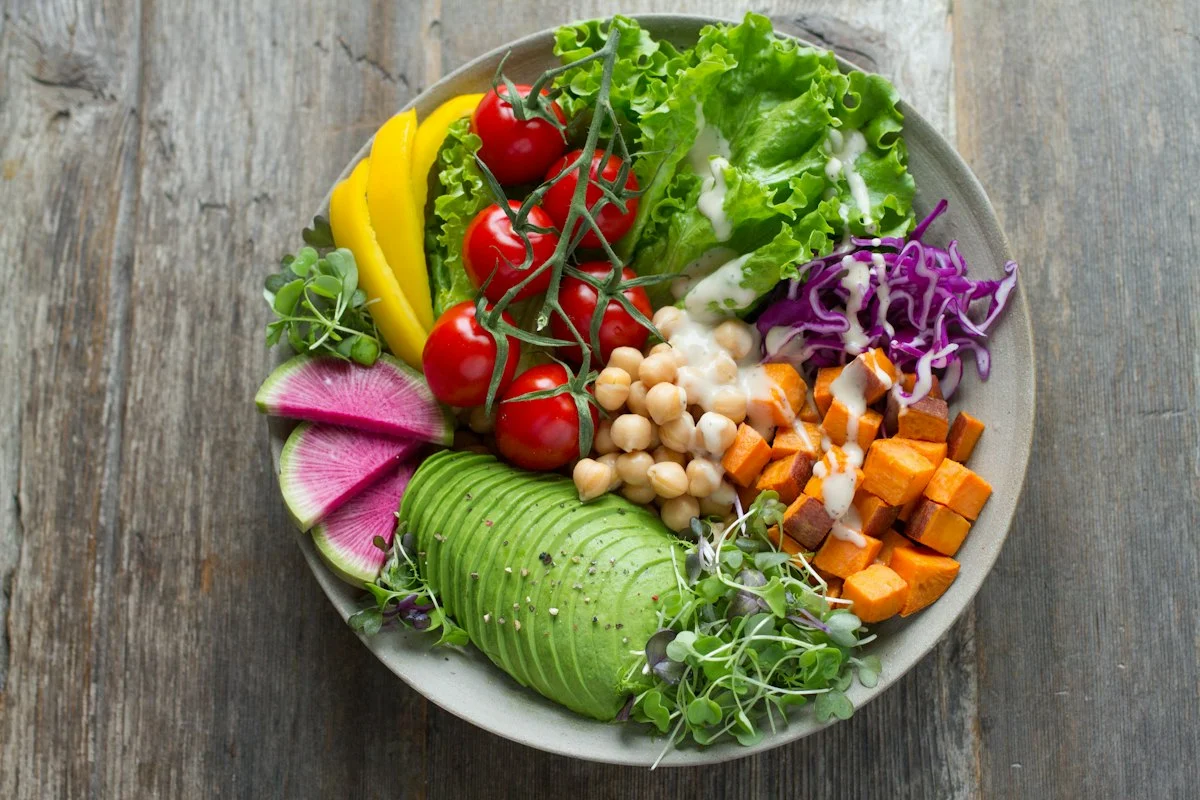
- Two Complex Grain / Starch Bases: e.g., Fluffy tri-color quinoa and roasted Japanese sweet potato cubes.
- Two Lean Protein Sources: e.g., Crispy spiced baked tofu cubes and marinated grilled chicken breast or seasoned tempeh.
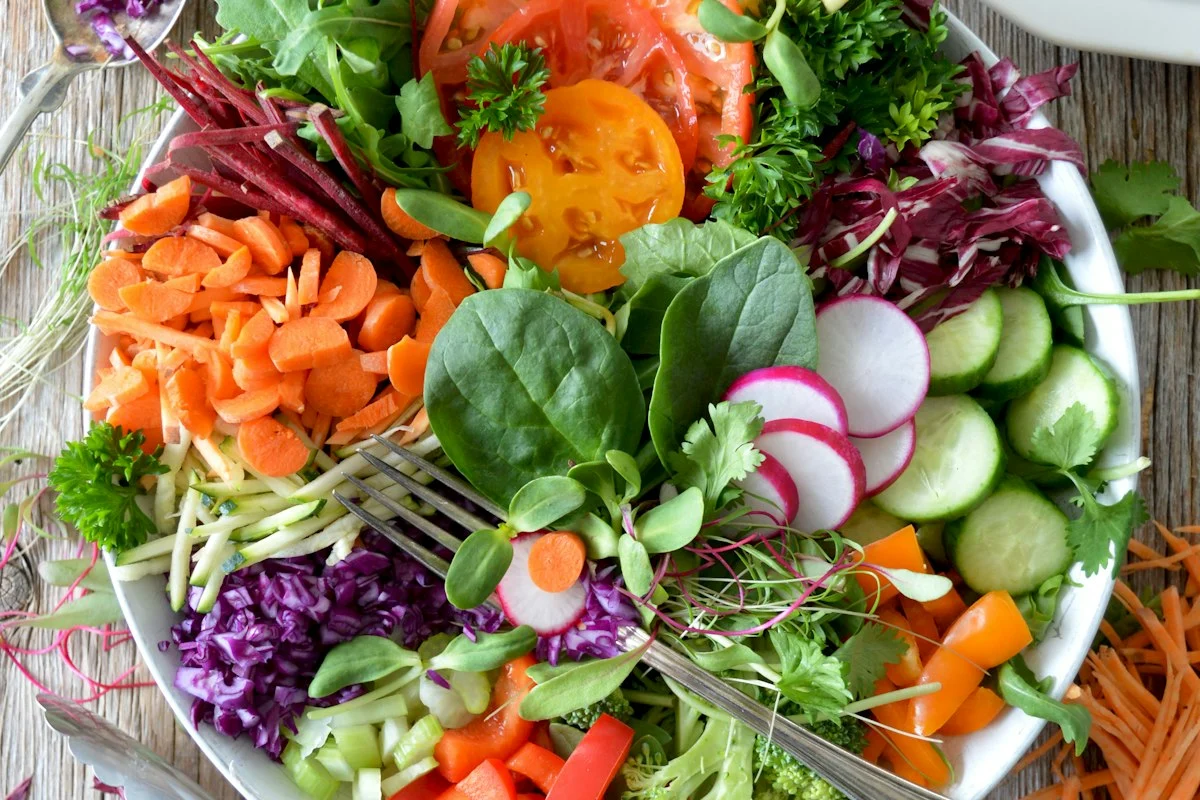
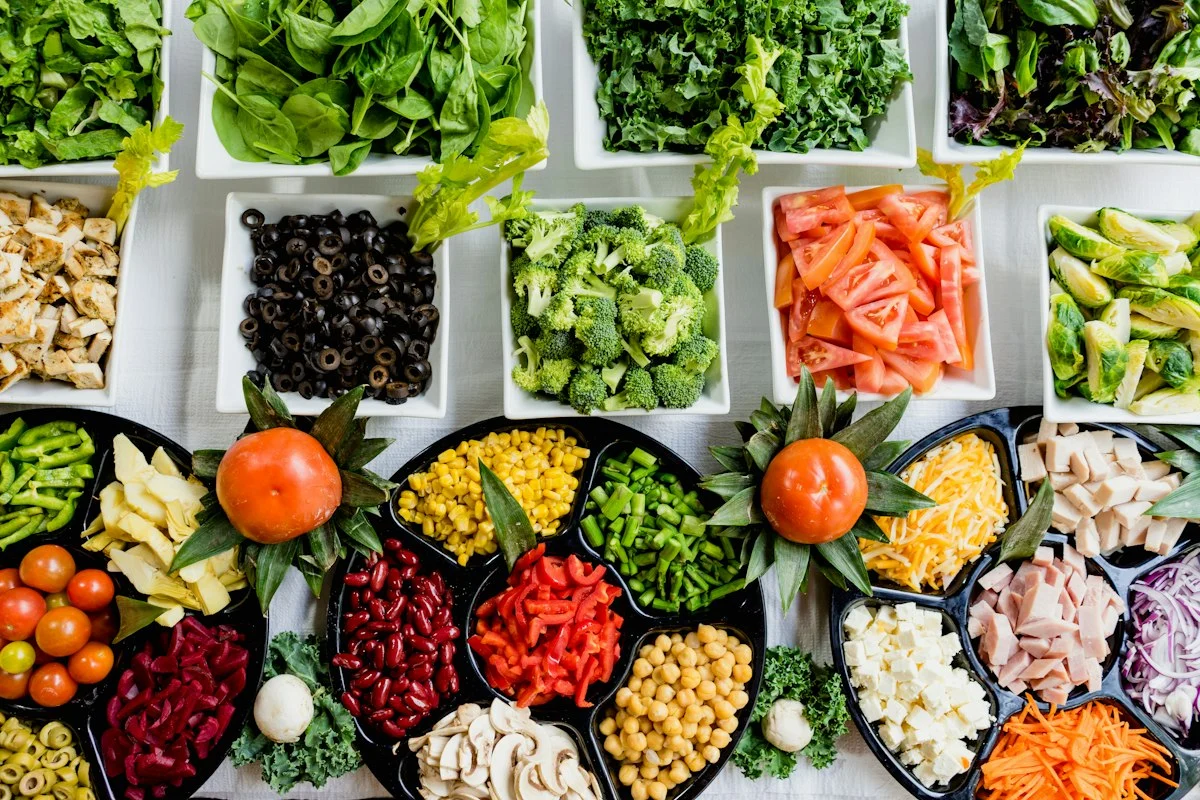
- Two Large Sheet Pans of Roasted Vegetables: e.g., Charred broccoli florets with lemon, and roasted bell peppers with red onions.
- Two Fresh Dressings or Sauces: e.g., Creamy garlic tahini dressing and spicy chimichurri or ginger-tamari vinaigrette.
By storing these components in separate glass containers, you can mix and match fresh permutations all week—a Mediterranean grain bowl on Monday, an Asian-style warm salad on Tuesday, and a roasted vegetable wrap on Wednesday.
The 120-Minute Sunday Execution Blueprint
Execute your prep with culinary kitchen discipline. Set a timer, put on your favorite playlist or podcast, and follow this exact chronological timeline:
Minutes 0–15: Wash, Chop, and Preheat
Preheat your oven to 400°F (205°C). Line two large half-sheet baking pans with unbleached parchment paper. Chop two heads of broccoli, one cauliflower, and two sweet potatoes into uniform bite-sized pieces.
Minutes 15–30: Load the Stovetop and Oven
Toss sweet potatoes with olive oil, smoked paprika, and sea salt; spread onto Pan 1. Toss broccoli and cauliflower with avocado oil, garlic powder, and cracked black pepper; spread onto Pan 2. Transfer both pans to the oven (set a timer for 30 minutes).
Rinse one cup of dry quinoa and one cup of brown jasmine rice. Add to separate lidded saucepans with water and a pinch of salt; bring to a boil, reduce to low, and cover.
Minutes 30–60: Prepare Proteins
While the oven and grains cook passively, focus on your protein anchors. Press a block of extra-firm tofu with a clean towel, cut into cubes, and toss with cornstarch, tamari, and nutritional yeast for crispness. Bake on a third sheet pan or pan-sear. For plant-based recipes, explore our high-protein plant-based recipes.
Minutes 60–90: Whisk Sauces and Wash Greens
Wash and thoroughly spin dry two heads of crisp Romaine or baby kale using a salad spinner. Whisk together your dressings: a zesty lemon-tahini sauce and a smoky chipotle-lime vinaigrette.
Minutes 90–120: Cool, Portion, and Store
Never place steaming hot food into airtight containers; the trapped steam condenses into water droplets that make vegetables mushy and accelerate bacterial spoilage. Let all components cool to room temperature on baking sheets before transferring them into labeled glass containers.
| Component Category | Shelf Life (Refrigerated) | Best Storage Method | Reheating Recommendation |
|---|---|---|---|
| Roasted Root Vegetables | 5–6 Days | Lidded Glass Dish | 5 min in Air Fryer or Toaster Oven |
| Cooked Whole Grains | 4–5 Days | Airtight Glass Container | Microwave with splash of water |
| Plant / Meat Proteins | 3–4 Days | Vented Glass Container | Skillet reheat or gentle microwave |
| Fresh Washed Greens | 6–7 Days | Paper-towel lined produce box | Eat cold / raw |
| Emulsified Dressings | 10–14 Days | Sealed Mason Jar | Room temp shake before serving |
Essential Equipment That Pays for Itself
You do not need commercial restaurant gear, but four foundational kitchen tools will make your meal prep ten times faster and more enjoyable:
- A Sharp 8-inch Chef’s Knife: A sharp knife prevents hand fatigue and halves your vegetable prep time. Keep it honed with a ceramic rod.
- Heavy Half-Sheet Rimmed Baking Pans: Commercial 18-gauge aluminum half-sheet pans conduct heat evenly, ensuring crispy caramelized roasted veggies without warping.
- Borosilicate Glass Containers: Unlike plastic containers, glass will not warp, absorb garlicky odors, or leach microplastics when heated.
- A Large Salad Spinner: Removing surface moisture from greens is the secret to keeping salads crisp for seven full days.
To keep your food expenditures low while prepping, read our comprehensive guide on healthy groceries on a budget and organize your kitchen shelves using our pantry organization system. Check out more culinary inspiration in our Food & Nutrition section and Meal Prep archive. For authoritative safe cooking temperatures and perishable storage recommendations, review the Food and Drug Administration (FDA) food safety database.
Food Safety, Storage Temperatures, and Labeling
Improper cooling and food handling is the number one reason beginners abandon meal prepping due to spoiled food or off-flavors. Bacteria thrive in the culinary “Danger Zone” between 40°F and 140°F (4°C to 60°C).
Follow these commercial food handling standards at home:
- The Two-Hour Shallow Pan Rule: Never stack hot cooked rice or stew four inches deep in a single container; thick masses retain heat in the center for hours, breeding spores. Spread hot grains across a wide, shallow sheet pan to cool quickly before refrigerating.
- Calibrate Your Fridge Thermometer: Purchase an inexpensive $7 analog appliance thermometer to verify your refrigerator actually maintains an internal temperature between 35°F and 38°F (2°C–3°C).
- Label with Blue Painter Tape: Keep a roll of blue painter tape and a permanent marker in your kitchen drawer. Label every glass dish with the item name and prep date (e.g., “Herb Quinoa — Sun 10/18”) so nothing is forgotten in the back of the fridge.
Pro-Tip Implementation Checklist: Key Takeaways
To ensure seamless long-term adherence and avoid common implementation hurdles, follow this concise operational checklist:
- Phase 1 Assessment: Establish baseline metrics and document existing challenges before purchasing supplies or overhauling routines.
- Phase 2 Incremental Action: Implement one primary change per week rather than attempting an overwhelming simultaneous transformation.
- Phase 3 Environment Calibration: Organize tools, workspace elements, and physical cues so positive behaviors require minimal conscious friction.
- Phase 4 Weekly Audit: Spend five minutes every Sunday assessing what worked, what generated friction, and how to calibrate for the week ahead.
- Phase 5 Community & Accountability: Share your goals and progress with an accountability partner or family member to reinforce long-term consistency.
By anchoring your habits in structured systems rather than transient motivation, you protect your energy, save valuable time, and build sustainable progress that compounds effortlessly month after month.
Frequently Asked Questions
How long can prepared meals safely stay fresh in the refrigerator?
Most cooked poultry, seafood, tofu, and cooked vegetable dishes remain fresh and microbiologically safe for three to four days when stored at or below 40°F (4°C).
What are the best containers for meal prepping to prevent sogginess?
Heavy-duty borosilicate glass containers with four-latch locking silicone lids provide airtight seals, prevent flavor transfer, and are oven, microwave, and freezer safe.
How do you prevent meal prep from feeling boring by Thursday?
Prep versatile meal components—two grains, two proteins, two sheet-pan vegetables, and three distinct homemade sauces—rather than five identical assembled dishes.
Can you freeze meal prep dishes for later weeks?
Yes, hearty soups, stews, chili, bean curries, and cooked grain bowls freeze beautifully for up to three months; freeze in flat silicone bags or portioned freezer trays.
What order should you cook things during a 2-hour batch prep session?
Start the longest-cooking items first: put sheet pans of sweet potatoes in the oven, start a pot of brown rice or quinoa on the stovetop, and chop fresh produce while they cook.